2022. 9. 15. 15:13ㆍReact/ReactJS로 영화 웹 서비스 만들기
이번에는 CDN이 아닌, Create React App을 사용하여 React JS 어플리케이션을 훨씬 쉽게 만들어보자!
https://reactjs-kr.firebaseapp.com/docs/installation.html
설치 - React
A JavaScript library for building user interfaces
reactjs-kr.firebaseapp.com
Create React App의 장점
1. 많은 스크립트
2. 많은 사전 설정
3. 개발서버 접근
4. 자동 새로고침
5. 기본 Application안에 CSS포함
6. Publish해주는 명령어도 있어 훨씬 편함!
먼저 Node.js를 설치 하면 된다~!
그리고 이제 App을 만들어보자!
먼저 아래의 명령어로 App을 만들어보자!
1. App만들기
npx create-react-app react-for-begginnersreact-for-begginners의 App 이름은 마음대로 설정해도된다!
설치가 완료되면, 아래의 명령어로 App에 접근해보자.
cd react-for-begginners
package.json을 보면 우리가 실행시킬 수 있는 script들이 있는 것을 확인할 수 있다.
{
  "name": "react-for-begginners",
  "version": "0.1.0",
  "private": true,
  "dependencies": {
    "@testing-library/jest-dom": "^5.16.5",
    "@testing-library/react": "^13.4.0",
    "@testing-library/user-event": "^13.5.0",
    "react": "^18.2.0",
    "react-dom": "^18.2.0",
    "react-scripts": "5.0.1",
    "web-vitals": "^2.1.4"
  },
  "scripts": {
    "start": "react-scripts start",
    "build": "react-scripts build",
    "test": "react-scripts test",
    "eject": "react-scripts eject"
  },
  "eslintConfig": {
    "extends": [
      "react-app",
      "react-app/jest"
    ]
  },
  "browserslist": {
    "production": [
      ">0.2%",
      "not dead",
      "not op_mini all"
    ],
    "development": [
      "last 1 chrome version",
      "last 1 firefox version",
      "last 1 safari version"
    ]
  }
}
그러면 우리는 npm start를 시행해보겠다.
그럼 자동으로 새로운 창이 다음과 같이
http://localhost:3000/
의 주소로 띄워진다.
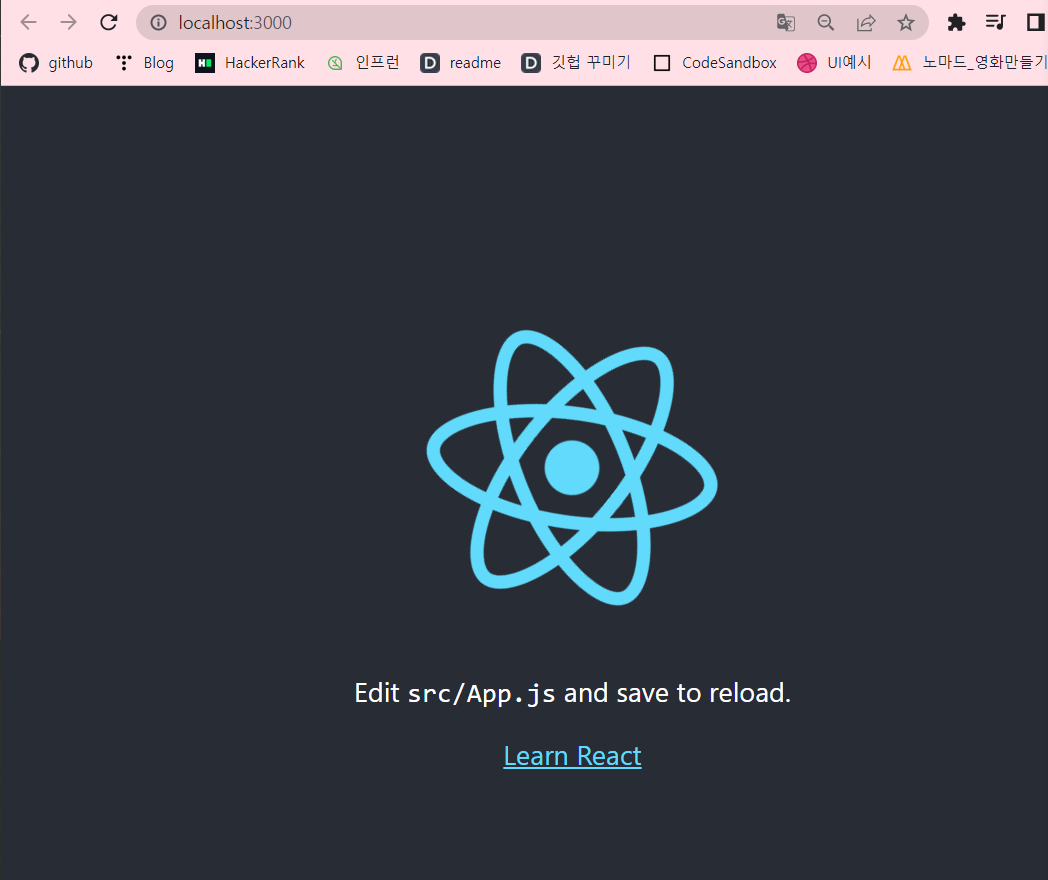
이것이 create-react-app을 사용해서 Application을 만들었을 때 초기 버전이다.
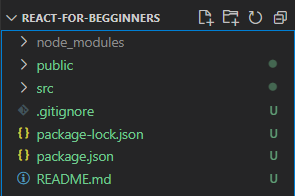
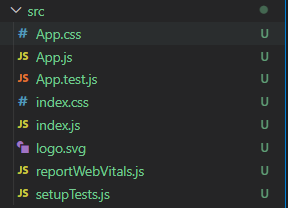
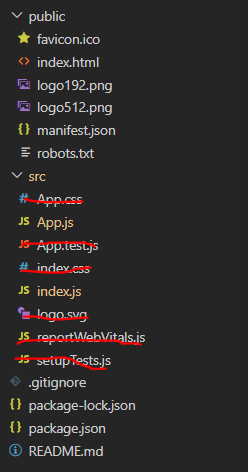
다음은 구성된 폴더들인데
src는 모든 파일들을 넣을 폴더인데
그 중에서도 index.js가 특히 더 중요하다!
index.js
import React from 'react';
import ReactDOM from 'react-dom/client';
import './index.css';
import App from './App';
import reportWebVitals from './reportWebVitals';

const root = ReactDOM.createRoot(document.getElementById('root'));
root.render(
  <React.StrictMode>
    <App />
  </React.StrictMode>
);

// If you want to start measuring performance in your app, pass a function
// to log results (for example: reportWebVitals(console.log))
// or send to an analytics endpoint. Learn more: https://bit.ly/CRA-vitals
reportWebVitals();
create-react-app은 우리 application을 가지고 index.html안에 넣어주도록 설정되어있다.
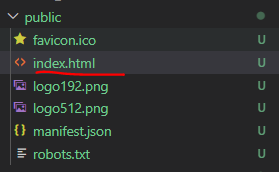
index.html
<!DOCTYPE html>
<html lang="en">
  <head>
    <meta charset="utf-8" />
    <link rel="icon" href="%PUBLIC_URL%/favicon.ico" />
    <meta name="viewport" content="width=device-width, initial-scale=1" />
    <meta name="theme-color" content="#000000" />
    <meta
      name="description"
      content="Web site created using create-react-app"
    />
    <link rel="apple-touch-icon" href="%PUBLIC_URL%/logo192.png" />
    <!--
      manifest.json provides metadata used when your web app is installed on a
      user's mobile device or desktop. See https://developers.google.com/web/fundamentals/web-app-manifest/
    -->
    <link rel="manifest" href="%PUBLIC_URL%/manifest.json" />
    <!--
      Notice the use of %PUBLIC_URL% in the tags above.
      It will be replaced with the URL of the `public` folder during the build.
      Only files inside the `public` folder can be referenced from the HTML.

      Unlike "/favicon.ico" or "favicon.ico", "%PUBLIC_URL%/favicon.ico" will
      work correctly both with client-side routing and a non-root public URL.
      Learn how to configure a non-root public URL by running `npm run build`.
    -->
    <title>React App</title>
  </head>
  <body>
    <noscript>You need to enable JavaScript to run this app.</noscript>
    <div id="root"></div>
    <!--
      This HTML file is a template.
      If you open it directly in the browser, you will see an empty page.

      You can add webfonts, meta tags, or analytics to this file.
      The build step will place the bundled scripts into the <body> tag.

      To begin the development, run `npm start` or `yarn start`.
      To create a production bundle, use `npm run build` or `yarn build`.
    -->
  </body>
</html>
자 그럼 이제 필요 없는 것들은 지워보자.
index.js
import React from "react";
import ReactDOM from "react-dom/client";
import App from "./App";

const root = ReactDOM.createRoot(document.getElementById("root"));
root.render(
  <React.StrictMode>
    <App />
  </React.StrictMode>
);
App.js 처음
import logo from './logo.svg';
import './App.css';

function App() {
  return (
    <div className="App">
      <header className="App-header">
        <img src={logo} className="App-logo" alt="logo" />
        <p>
          Edit <code>src/App.js</code> and save to reload.
        </p>
        <a
          className="App-link"
          href="https://reactjs.org"
          target="_blank"
          rel="noopener noreferrer"
        >
          Learn React
        </a>
      </header>
    </div>
  );
}

export default App;
삭제 후
function App() {
  return (
    <div>
      <h1>Welcome back!</h1>
    </div>
  );
}

export default App;
다음의 파일들도 삭제하면된다.
그럼 다음과 같이 정상적으로 출력이된다.
'React > ReactJS로 영화 웹 서비스 만들기' 카테고리의 다른 글
| 6.0 Introduction (0) | 2022.09.15 |
|---|---|
| 5.1 Tour of CRA (2) | 2022.09.15 |
| 4.3 Recap (0) | 2022.09.15 |
| 4.2 Prop Types (2) | 2022.09.15 |
| 4.1 Memo (0) | 2022.09.14 |