7-9. DIARY 구현하기 (/DIARY)
2022. 8. 24. 11:30ㆍReact/한입 크기로 잘라 먹는 리액트(React.js)
우선 이전과 같이 상단부분을 만들어주었다.
import { useContext, useEffect, useState } from "react";
import { useNavigate, useParams } from "react-router-dom";
import { DiaryStateContext } from "../App";
import { getStringDate } from "../util/date";

import MyHeader from "../components/MyHeader";
import MyButton from "../components/MyButton";

const Diary = () => {
  const { id } = useParams();
  const diaryList = useContext(DiaryStateContext);
  const navigate = useNavigate();
  const [data, setData] = useState();

  useEffect(() => {
    if (diaryList.length >= 1) {
      const targetDiary = diaryList.find(
        (it) => parseInt(it.id) === parseInt(id)
      );

      if (targetDiary) {
        //   일기가 존재할 때
        setData(targetDiary);
      } else {
        // 일기가 없을 때
        alert("없는 일기입니다.");
        navigate("/", { replace: true });
      }
    }
  }, [id, diaryList]);

  if (!data) {
    return <div className="DiaryPage">로딩중입니다...</div>;
  } else {
    return (
      <div className="DiaryPage">
        <MyHeader
          headText={`${getStringDate(new Date(data.date))} 기록`}
          leftChild={
            <MyButton text={"< 뒤로가기"} onClick={() => navigate(-1)} />
          }
          rightChild={
            <MyButton
              text={"수정하기"}
              onClick={() => navigate(`/edit/${data.id}`)}
            />
          }
        />
      </div>
    );
  }
};

export default Diary;
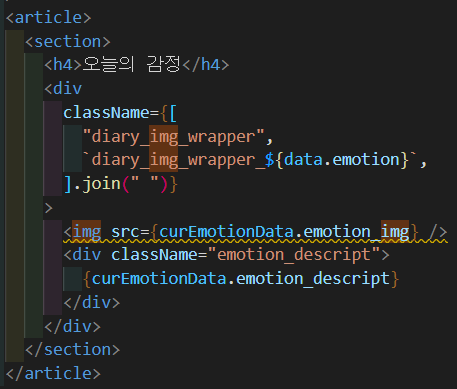
그럼 오늘의 감정 부분을 들고와보자
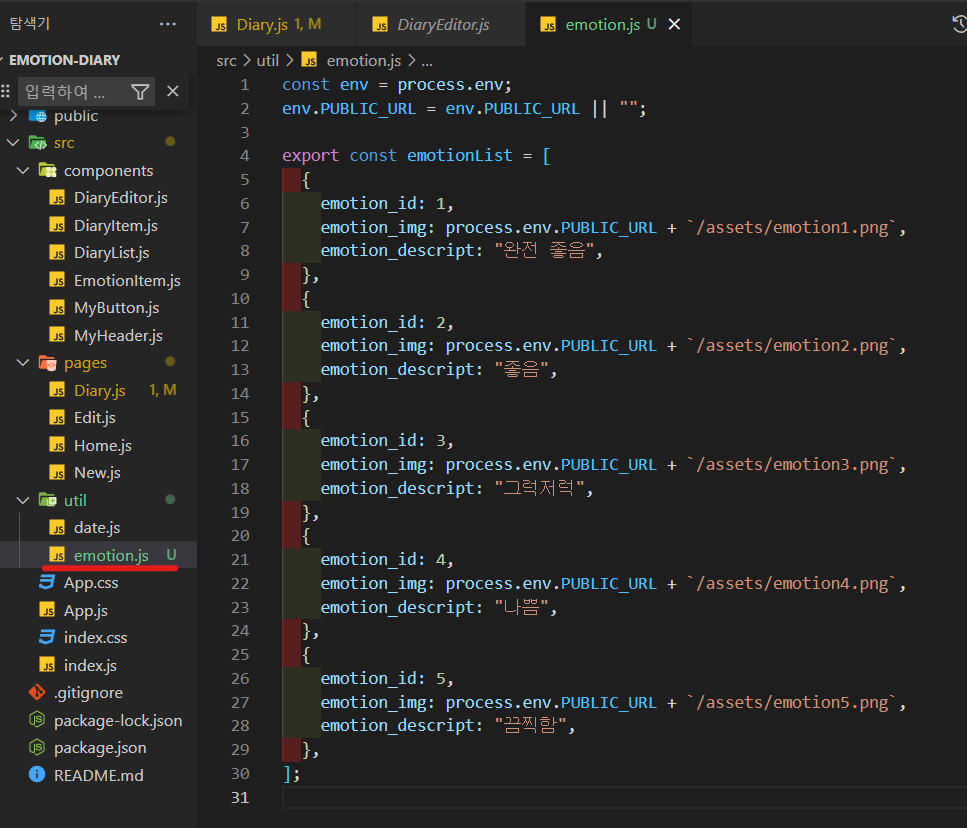
먼저 util 파일 안에 emotion.js를 생성해주고, Diary.js에 추가해주자.

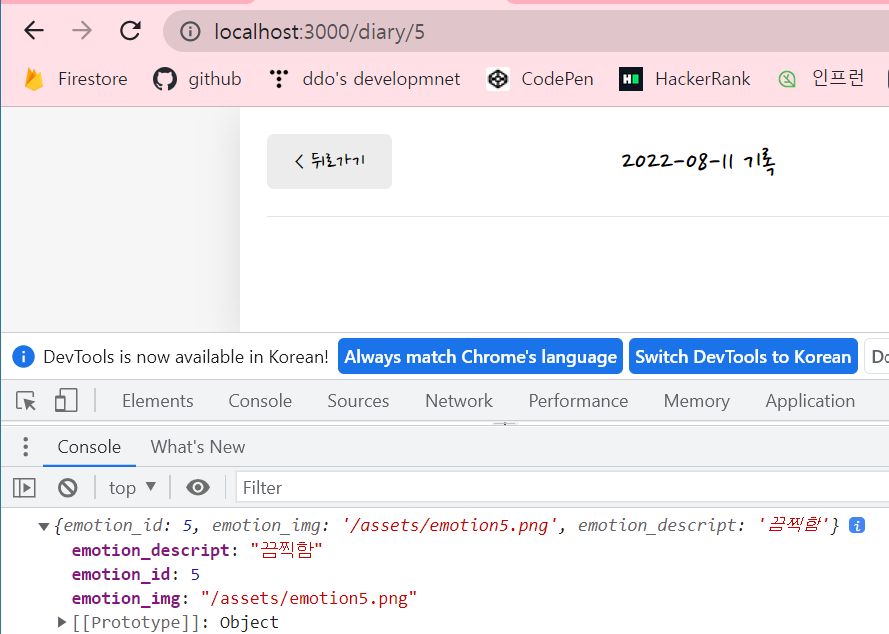
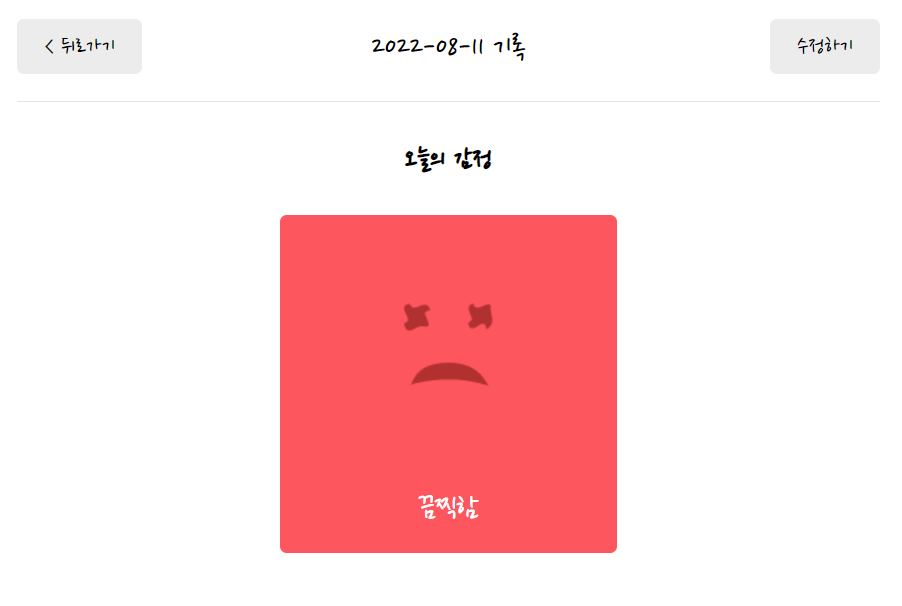
그럼 잘 렌더링 되고 있는 것을 확인할 수 있다.
DiaryEditor.js부분도 수정해주자.

/* Diary */
.DiaryPage {

}

.DiaryPage section{
  width: 100%;
  margin-bottom: 100px;

  display: flex;
  flex-direction: column;
  align-items: center;
  text-align: center;
}

.DiaryPage h4{
  font-size: 22px;
  font-weight: bold;
}

.DiaryPage .diary_img_wrapper {
  background-color: #ececec;
  width: 250px;
  height: 250px;
  border-radius: 5px;
  display: flex;
  flex-direction: column;
  align-items: center;
  justify-content: space-around;
}

.DiaryPage .diary_img_wrapper_1 {
  background-color: #64c964;
}

.DiaryPage .diary_img_wrapper_2 {
  background-color: #9dd772;
}

.DiaryPage .diary_img_wrapper_3 {
  background-color: #fdce17;
}

.DiaryPage .diary_img_wrapper_4 {
  background-color: #fd8446;
}

.DiaryPage .diary_img_wrapper_5 {
  background-color: #fd565f;
}

.DiaryPage .emotion_descript {
  font-size: 25px;
  color: white;
}
자 그러면 이제 오늘의 일기 부분을 만들어보자
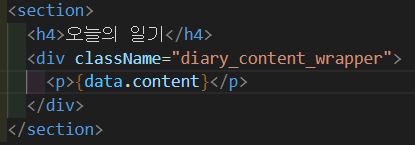
.DiaryPage .diary_content_wrapper {
  width: 100%;
  background-color: #ececec;
  border-radius: 5px;
  /* 단어끊어서 줄바꿈하지말라 */
  word-break: keep-all;
  /* 줄바꿈해라 */
  overflow-wrap: break-word;
}

.DiaryPage .diary_content_wrapper p {
  padding: 20px;
  text-align: left;
  font-size: 20px;
  font-family: "Yeon sung";
  font-weight: 400;
  line-height: 2.5;
}
그럼 아래와 같이 정상적으로 작성이 된다.

'React > 한입 크기로 잘라 먹는 리액트(React.js)' 카테고리의 다른 글
| 7-10. LocalStorage 사용하기 (WEB DATABASE STORAGE) (0) | 2022.08.24 |
|---|---|
| 흔히 발생하는 버그 수정하기 (REACT를 사용하면서 자주 만나볼 수 있는 버그들에 대한 대처방법) (0) | 2022.08.24 |
| 7-8. EDIT 구현하기 (/EDIT) (0) | 2022.08.23 |
| 7-7. NEW 구현하기 (0) | 2022.08.17 |
| 7-6. HOME 구현하기 (0) | 2022.08.11 |